How to photograph the moon: A Guide to Astrophotography
Photographing the moon has been a fascination for photographers and astronomers alike since the start of photography. In this guide, we’ll go through the basics of photographing the moon, from understanding its phases to mastering the necessary equipment and techniques.
Moon Phases Explained : How to photograph the moon
The moon, Earth’s natural satellite, undergoes various phases as it orbits our planet. These phases result from the changing positions of the sun, Earth, and moon. Understanding these phases is crucial for planning your moon photography sessions. The phases include the New Moon, Waxing Crescent, First Quarter, Waxing Gibbous, Full Moon, Waning Gibbous, Last Quarter, and Waning Crescent.
What is a Supermoon and Micromoon?
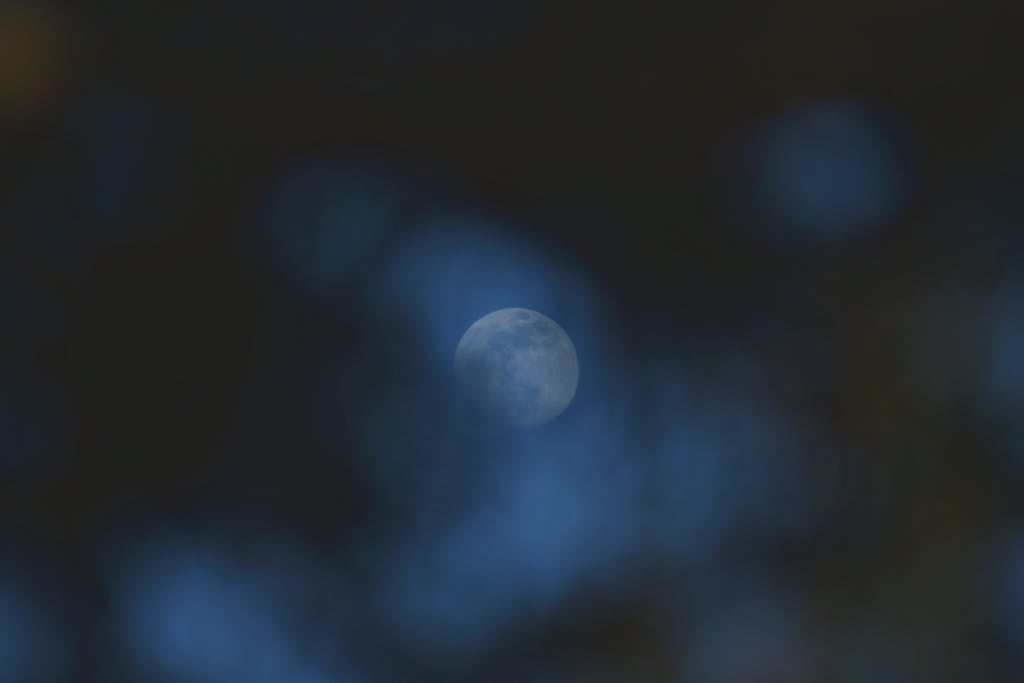
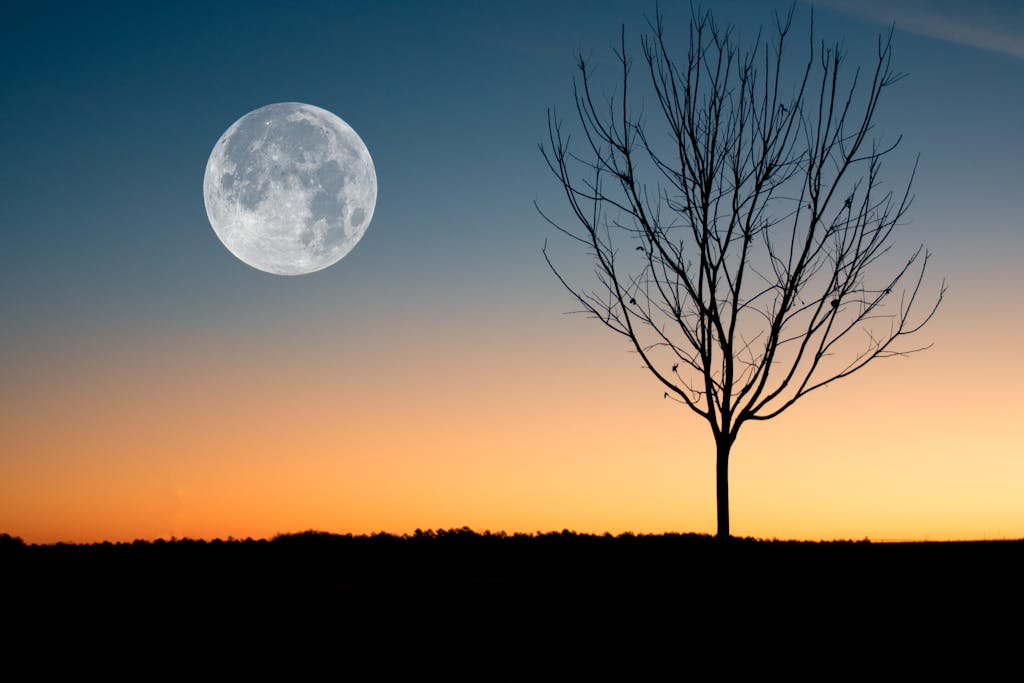
Occasionally, the moon appears larger or smaller than usual due to its elliptical orbit around Earth. When the moon is at its closest point to Earth (perigee), it’s known as a supermoon, appearing slightly larger and brighter. Conversely, when the moon is at its farthest point (apogee), it’s termed a micromoon, appearing slightly smaller. These phenomena offer unique opportunities for photographers to capture striking images.
Full Moon Names
Throughout history, cultures around the world have bestowed unique names upon each full moon, often inspired by nature, folklore, or seasonal events. Examples include the Harvest Moon, Hunter’s Moon, and Wolf Moon. Knowing these names can add depth to your moon photography and help you appreciate the cultural significance attached to each lunar cycle.
- Wolf Moon (January): Named after the howling of wolves often heard during the cold winter nights.
- Snow Moon (February): Reflecting the typically heavy snowfall of February.
- Worm Moon (March): Named after the appearance of earthworms emerging from the thawing ground.
- Pink Moon (April): Named after the pink phlox flowers that bloom during this time of year.
- Flower Moon (May): Named after the abundance of flowers that bloom in May.
- Strawberry Moon (June): Named after the ripening of strawberries in North America.
- Buck Moon (July): Named after the time when male deer’s antlers are in full growth.
- Sturgeon Moon (August): Named after the abundance of sturgeon fish in North American lakes during this time.
- Harvest Moon (September): The full moon closest to the autumn equinox, traditionally associated with helping farmers gather their crops.
- Hunter’s Moon (October): The full moon following the Harvest Moon, associated with the time for hunting and preparing for winter.
- Beaver Moon (November): Named after the time when beavers become particularly active in building their dams.
- Cold Moon (December): Named after the cold weather typically experienced during December.
These names have been used by various indigenous cultures and were later adopted into the Western tradition. They provide insight into the natural rhythms of the seasons and the activities associated with each month.
Moon Photography Basics
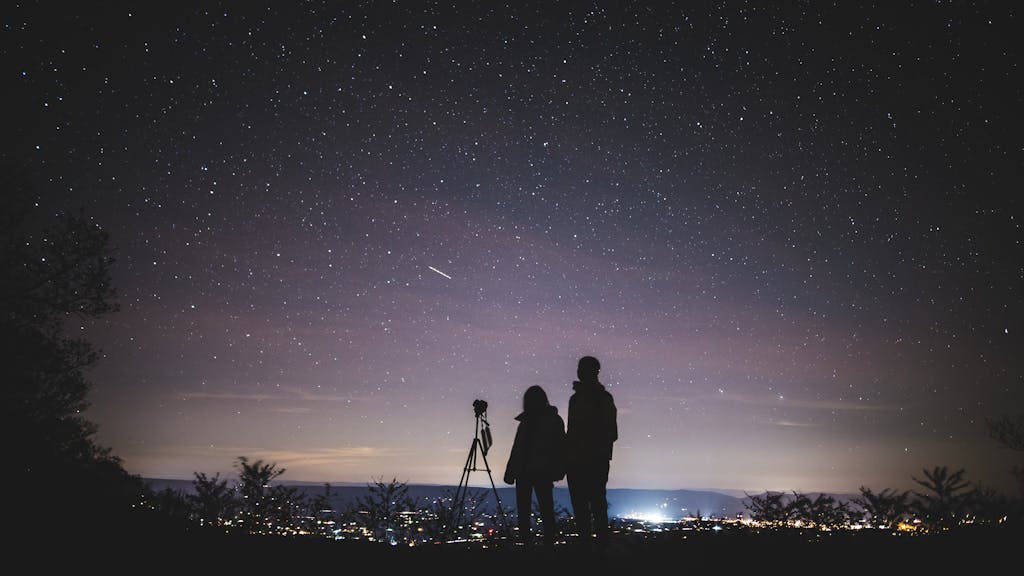
Before venturing out to capture the moon, it’s essential to understand the basics of astrophotography. Ensure you have a sturdy tripod to minimize camera shake, as even minor movements can result in blurry images when photographing celestial objects. Additionally, familiarize yourself with your camera’s manual settings, particularly those related to exposure, focus, and ISO sensitivity.
Equipment – Camera, Lens, and Settings
For moon photography, a digital single-lens reflex (DSLR) or mirrorless camera with manual controls is recommended. Pair your camera with a telephoto lens to capture the moon’s intricate details. A focal length of at least 200mm is ideal, although longer lenses can provide even closer views. Set your camera to manual mode and adjust the settings for optimal exposure. Start with a low ISO (around 100-400) to minimize noise, and experiment with different shutter speeds and apertures to achieve the desired results.
How to Plan for Moon Photographing?
Successful moon photography requires careful planning. Begin by checking weather forecasts to ensure clear skies and optimal viewing conditions. Utilize apps such as Phototime to plan your sessions, which provide information on the moon’s phase, rise and set times, and lunar visibility. Prepare your camera gear in advance, including spare batteries, memory cards, and any additional accessories. Scout potential shooting locations during the day and test different compositions to determine the best vantage points.
Best Camera Settings for Moon and Astrophotography
When photographing the moon, aim for a balance between detail and exposure. Start with a mid-range aperture (around f/8 to f/11) to achieve sharpness throughout the image. Experiment with shutter speeds ranging from 1/125th to 1/250th of a second to avoid overexposure, adjusting as needed based on the moon’s brightness. Use manual focus to ensure crisp, well-defined images, focusing on the moon’s surface features or its edges.
Summary
Photographing the moon offers a unique opportunity to capture the beauty and wonder of our celestial neighbor. By understanding the moon’s phases, mastering the necessary equipment and techniques, and planning your sessions carefully, you can create stunning images that showcase the moon’s ethereal allure. Whether you’re a seasoned astrophotographer or a novice enthusiast, the moon provides endless inspiration for exploration and creativity. So grab your camera, head outdoors, and let the magic of moon photography unfold before your lens.