4 tips on blue hour photography
Blue hour photography is often forgotten about by many photographers.Here are the 4 tips on blue hour photography that will help to change that. After golden hour ends, most photographers pack up their gear and head home for the evening. What they don’t realize is that the best part’s only just beginning!
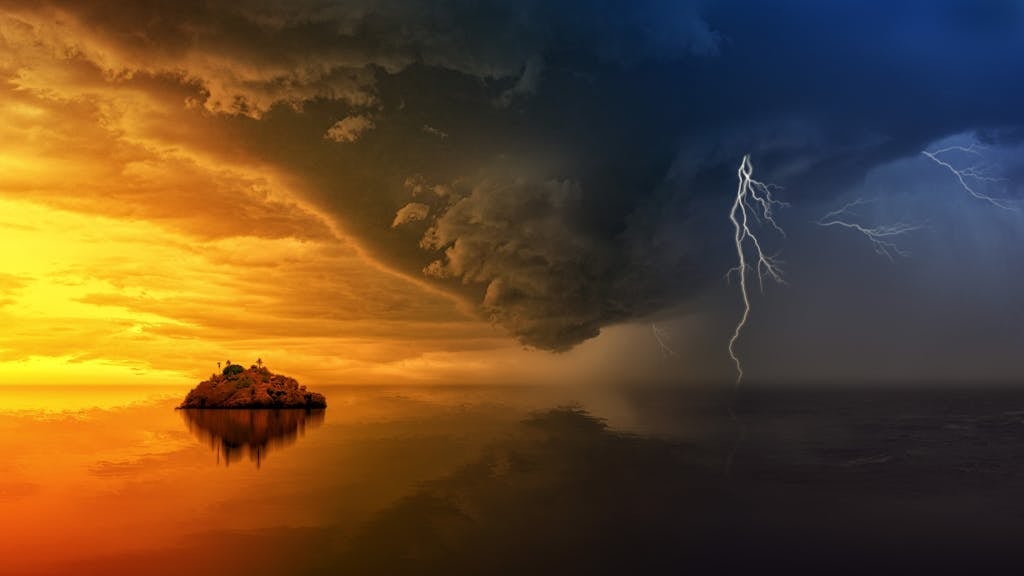
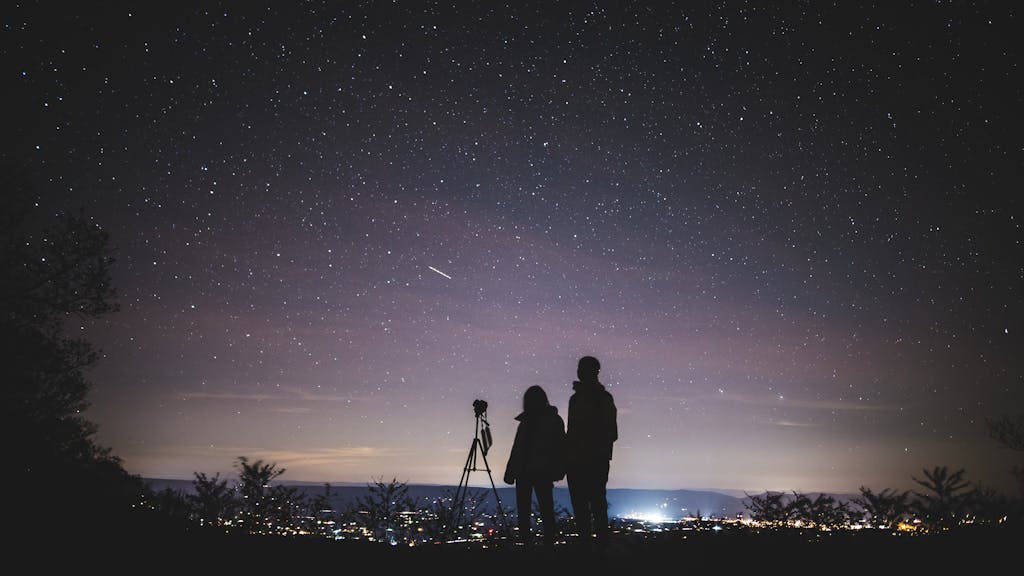
Blue hour is the perfect time to challenge your photography and get creative in a low light environment. With significantly less light than other times of day, you can capture more moody scenes, practice your long exposure photography, and more.
In this article, I will share four great blue hour photography tips to help you get the most out of this unique time of day. Let’s get started!
#1 – INCLUDE A LIGHT SOURCE IN YOUR FRAME
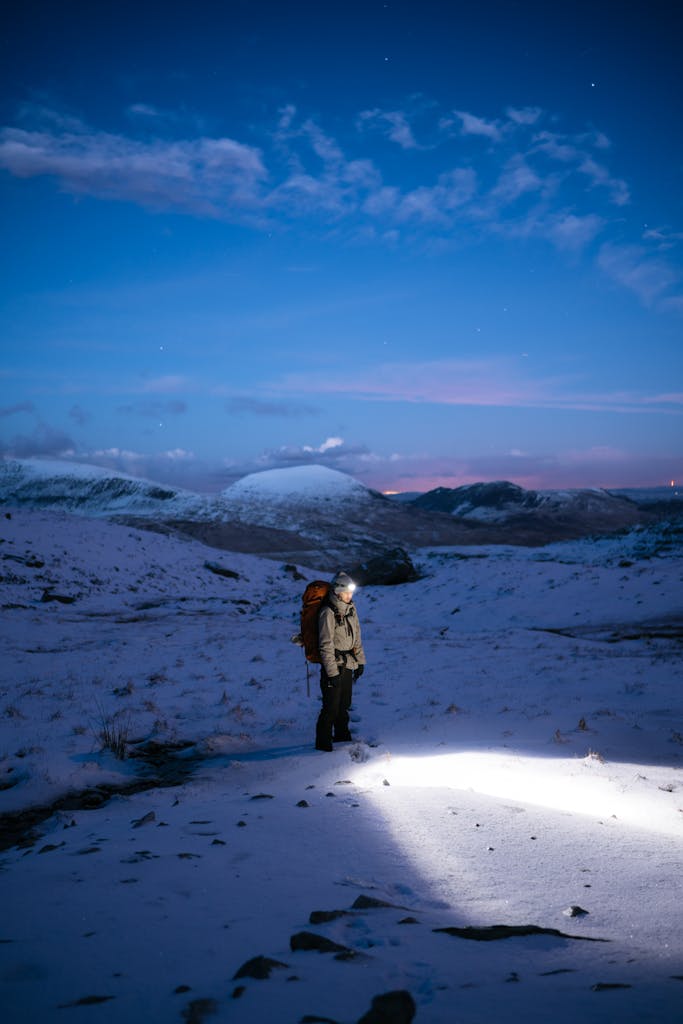
The challenge with blue hour photography is that there are a lot of shadows. Especially when you’re taking photos of a person, it’s difficult to draw attention to them. What can you do to separate a shadowed figure from an already dark background?
That’s why incorporating a light source into your blue hour photos is so valuable.
This can be any type of light that is shown within your frame. Something like a headlamp, campfire, streetlight, or even car headlights will work. Use whatever is available to illuminate your subject and draw more attention to them.
Blue hour makes this compositional technique extremely easy to implement since there is already an abundance of shadowy areas in the image. By adding some kind of light, you immediately create an interesting point of reference within the darkness.
The two easiest ways to incorporate a light source in your blue hour images is with a headlamp (flashlight) or campfire. Let’s go over how you can utilize each to improve your blue hour photography.
#2 – EXPERIMENT WITH LIGHT PAINTING
If you’re looking for a fun blue hour photography idea, then light painting is a must. You don’t need any fancy gear to make it happen, just any flashlight. Even your cell phone’s light will do.
Light painting is done by moving a light source through your frame while using a slow shutter speed. Since the light is continually moving, it will blur into one continuous streak through your photo. Aiming for a shutter speed of five seconds or longer is a great starting point for blue hour light painting.
Read more here: Fun With Light Painting at Home
Blue hour is an incredible time to light paint for two main reasons. The first being that you can easily capture the light trail. The second is that there is still enough available light to see a ton of details in the scene.
The result is light trails that appear to be captured in the middle of the day. The only giveaway is that there may be a few stars you can see in the sky.
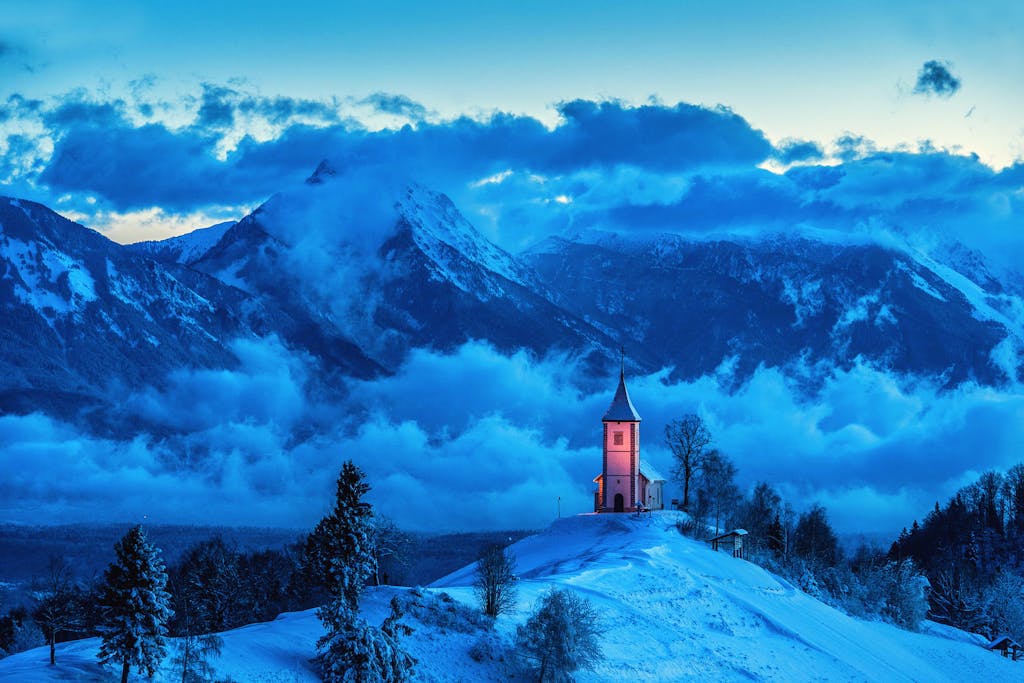
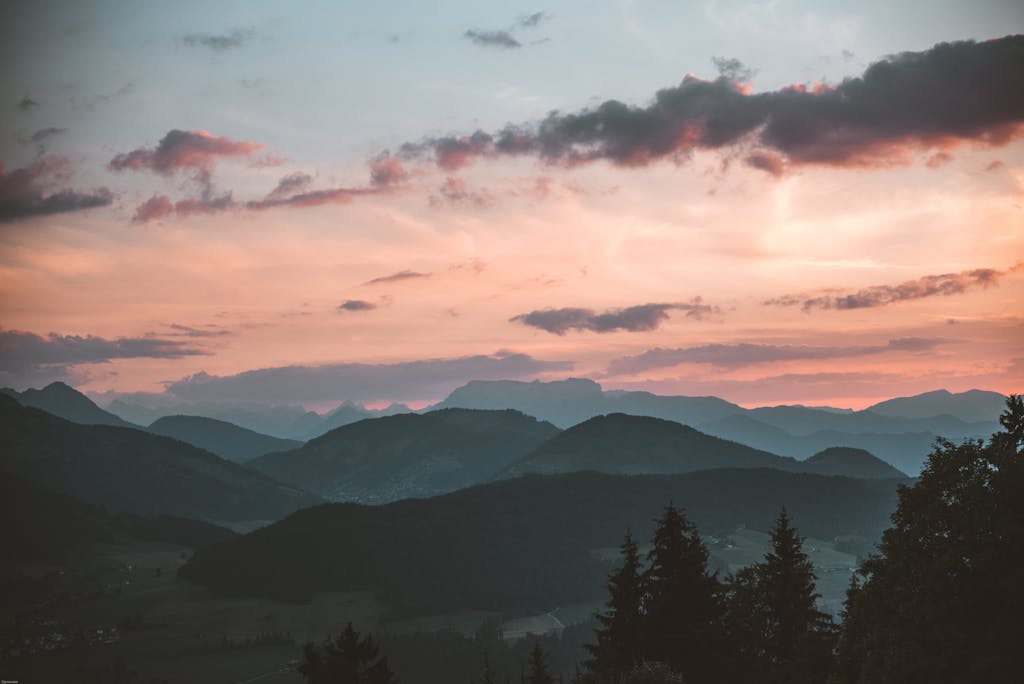
#3 – GET INTO THE MOUNTAINS
Getting into nature is hands down the best place to catch blue hour, especially in the mountains. During blue hour the winds tend to calm, lakes glass over, and soft light is cast across the taller peaks. If you’re lucky, you’ll even experience an effect known as Alpenglow.
Alpenglow is the reflection of light from clouds and other particles in the air. This creates a fantastic reddish or pink glow in the sky and on the surrounding peaks. The vibrance of this glow will change depending on weather conditions, but it’s an incredible sight you don’t want to miss.
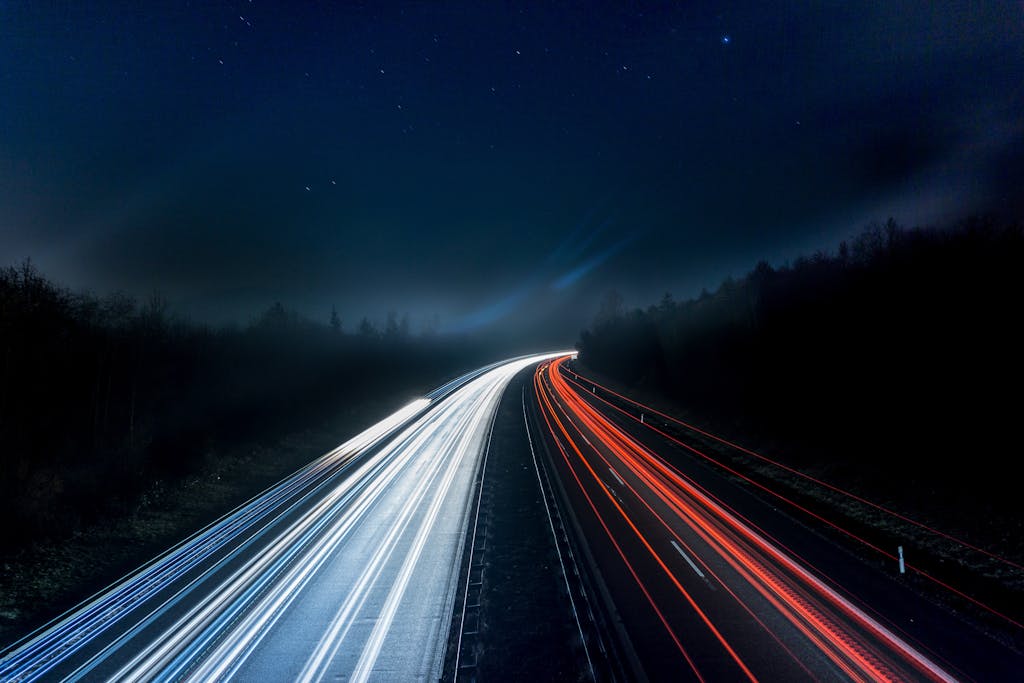
#4 – TAKE ADVANTAGE OF LONG EXPOSURES
Long exposures are one key to capturing more professional looking images. After all, who doesn’t love a silky looking waterfall or an image of clouds streaking across the sky?
The trouble is that you may not own any Neutral Density filters making it more challenging to practice long exposure photography. Luckily blue hour can completely solve this problem, without having to buy any more gear.
Blue hour is the perfect balance between the amount of light, and the camera settings you’re able to use. Even though it may look dark to the eye, with a 10-second exposure, the imge suddenly looks much brighter. This presents the perfect opportunity to capture long exposures without the need for any filters.
CONCLUSION
Blue hour is commonly forgotten about by many photographers. After golden hour is over, most people pack up and head home. Little do they know they’re missing the second part of the show.
Being prepared for blue hour is important to capture better images at this time of day. Since there is less light, you need to get creative and think outside the box. Try to practice different techniques to get the most out of your blue hour photography.